Calendar 2025
Save, fill-In The Blanks, Print, Done!

Download Calendar 2025
Microsoft Spreadsheet (.xlsx)- This Document Has Been Certified by a Professional
- 100% customizable
- This is a digital download (64.49 kB)
- Language: English
- We recommend downloading this file onto your computer.

How to make a Calendar in Excel?
Creating a calendar in Excel can be a useful way to organize and track important dates and events. Here’s a free template and a step-by-step guide to making a calendar in Excel:
Step-by-Step Guide to Making a Calendar in Excel
Step 1: Open a New Excel Workbook
Open Microsoft Excel and create a new workbook.
Step 2: Set Up the Calendar Layout
Decide whether you want a monthly or yearly calendar. For a monthly calendar, you'll have a grid with days of the week as headers.
Step 3: Create the Days of the Week Headers
In the first row, enter the days of the week starting from any cell, for example, B1 for Sunday, C1 for Monday, and so on.
Step 4: Format the Calendar Grid
In the next row, enter the dates for the first week of the month. For example, if the month starts on a Tuesday, leave the cells for Sunday and Monday blank and start with 1 in the cell under Tuesday.
Continue filling in the dates for the rest of the month, adjusting for the number of days in the month.
Step 5: Adjust Column Widths and Row Heights
Adjust the column widths and row heights to make your calendar more readable. Right-click on the column or row headers and select "Column Width" or "Row Height" to set a consistent size.
Step 6: Add Month and Year Title
Above the days of the week, leave a few rows to enter the month and year. Merge cells across the calendar grid to create a title area. Select the cells, right-click, and choose "Merge & Center."
Step 7: Format the Calendar
Use cell formatting options to enhance the appearance of your calendar:
Select the cells for the days of the week and apply bold formatting.
Use borders to clearly define each day.
Apply background colors to differentiate weekends or highlight special dates.
Step 8: Add Conditional Formatting (Optional)
If you want to highlight weekends or holidays automatically, use conditional formatting. Go to the "Home" tab, select "Conditional Formatting," and create rules based on your criteria (e.g., highlight cells that contain "Saturday" or "Sunday").
Step 9: Customize with Events and Notes
Add any events, appointments, or notes to the corresponding dates. Simply click on the cell and type the event details.
Step 10: Save Your Calendar Template
Save your calendar as a template if you plan to reuse it. Go to "File," select "Save As," choose "Excel Template (*.xlsx)" as the file type, and save it to your preferred location.
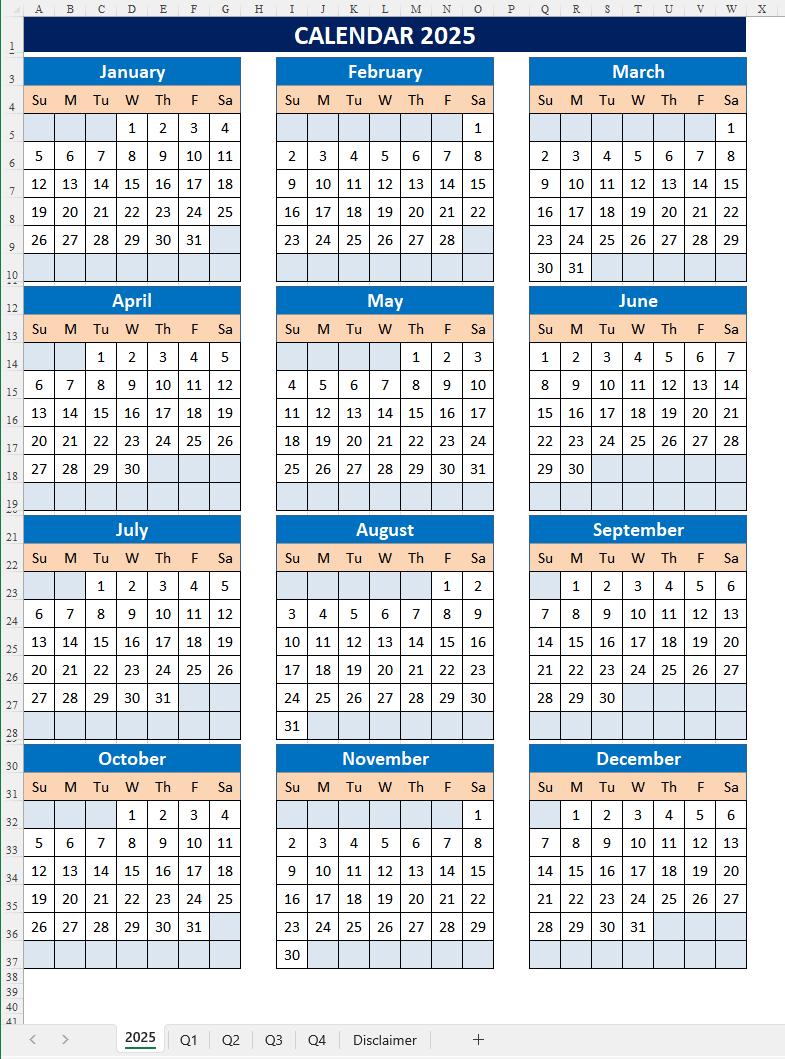
Here’s a simple example of what your Excel calendar layout as you can see on the image above.
Tips for Enhancing Your Calendar
Use Colors: Differentiate between workdays, weekends, and holidays using different colors.
Add Borders: Apply borders to cells to create a clear and defined grid.
Insert Images: Add company logos or other relevant images to personalize your calendar.
Link to Other Sheets: If you have multiple months, link them together for easy navigation.
Automate Date Entry: Use Excel formulas to automatically populate dates based on the month and year input.
By following these steps, you can create a functional and visually appealing calendar in Excel that meets your scheduling needs.
Download this Calendar in Excel for 2025 now!
DISCLAIMER
Nothing on this site shall be considered legal advice and no attorney-client relationship is established.
Leave a Reply. If you have any questions or remarks, feel free to post them below.
Related templates
Latest topics
- GDPR Compliance Templates
What do you need to become GDPR compliant? Are you looking for useful GDPR document templates to make you compliant? All these compliance documents will be available to download instantly... - Google Docs Templates
How to create documents in Google Docs? We provide Google Docs compatible template and these are the reasons why it's useful to work with Google Docs... - IT Security Standards Kit
What are IT Security Standards? Check out our collection of this newly updated IT Security Kit Standard templates, including policies, controls, processes, checklists, procedures and other documents. - Letter Format
How to format a letter? Here is a brief overview of common letter formats and templates in USA and UK and get inspirited immediately! - Google Sheets Templates
How to work with Google Sheets templates? Where to download useful Google Sheets templates? Check out our samples here.
cheese